Self-rising flour serves as a versatile and essential ingredient in the culinary world. Learn how to make self-rising flour and eliminate the need for additional leavening agents, such as baking powder or yeast. This unique flour is especially popular in southern recipes, where it plays an essential role for biscuits, cornbread and quick breads.

But it is easy to start a recipe only to realize that this key ingredient is missing from the pantry. Luckily, crafting homemade self-rising flour is both easy and convenient. This pantry staple requires just three simple ingredients that are likely already available in the kitchen, making it easy to prevent a last-minute trip to the store.
Understanding self-rising flour
Before learning how to make self-rising flour, it is essential to understand how it works. This flour blend shines in recipes with a tender or delicate texture, such as cakes, quick breads, cookies and biscuits.
Self-rising flour combines all-purpose flour and a leavening agent, usually baking powder. So, when incorporating it into recipes, there’s no fuss of adding extra ingredients to make it rise.
What does self-rising flour bring to the table? A lighter, airier texture in baked goods and a streamlined baking process. It already contains the leavening agent, so there’s no separate measuring and mixing, avoiding potential overmixing.
“I always have self raising flour in the pantry in case I run out of yeast! It makes amazing biscuits in a pinch and is perfect for quick bread recipes. Minimal ingredients and clean-up!”
— Shruthi, Urban Farmie
How to make self-rising flour
Learning how to make self-rising flour at home couldn’t be simpler. Depending on your requirements, you can prepare a small or a more generous batch.
Ingredients
Only three simple ingredients are needed to make self-rising flour. Most people probably have the components in their pantry.
- All-purpose flour
- Baking powder
- Salt

Process
Use 1 1/2 teaspoons baking powder and 1/4 teaspoon salt for every cup of flour. Here’s how to do it:
- Measure the all-purpose flour, baking powder and salt.
- Whisk the ingredients for around 30 seconds to ensure an even distribution of the baking powder and salt.
- Once combined, transfer the self-rising flour to an airtight container. Don’t forget to label it with the date and contents.
Storing
Proper storage is essential to keep the flour fresh and maintain its effectiveness. Follow these guidelines for proper storage.
- Place the airtight container in a cool, shaded area, like a pantry or cupboard. Avoid direct sunlight, which might activate the baking powder.
- For extended shelf life, consider refrigerating the flour.
- Always ensure the storage area remains dry to prevent moisture-related clumping.
Keep in mind even homemade self-rising flour doesn’t last forever. It typically remains fresh for up to 6 months. Making it in smaller batches ensures its effectiveness.
Filled with appetizers, salads, sides, mains and desserts, Food Drink Life's cookbook will become your favorite!
- Easy and delicious recipes from a variety of top chefs and recipe developers.
- Bright, colorful pictures on every page.
- Printer-friendly recipes that you can download instantly to your device.
- Printable shopping list and a kitchen conversion sheet.
Buying self-rising flour
While self-rising flour offers convenience, many cooks do not stock it in their kitchen. Pantry space is prime real estate, and it might not merit the space for those who infrequently use it.
Additionally, self-rising flour loses its potency over time, leading to inconsistent results in baked goods. Creating the mixture on-demand guarantees fresher, consistent results.
Difference between homemade self-rising flour and store-bought
There will be slight differences between the two. Off-the-shelf self-rising flour generally contains a softer wheat, resulting in a lower protein content.
This difference yields a more tender product, ideal for baked goods like biscuits, pancakes and muffins. Although homemade self-rising flour uses all-purpose white flour with standard protein content, the difference in tenderness is minimal and usually goes unnoticed.
“I love using self rising flour. My traditional southern biscuits are just not the same without it! It helps me skip a step of sifting and saves me time in the kitchen.”
— Brooke Burks, The Buttered Home

How to use self-rising flour
Self-rising flour is measured and used just like regular flour. There are many recipes that call for this versatile ingredient.
- Biscuits: One of the most classic uses of self-rising flour is in biscuit recipes, producing light and fluffy results.
- Pancakes: For pancakes that puff up nicely, self-rising flour is often a top choice.
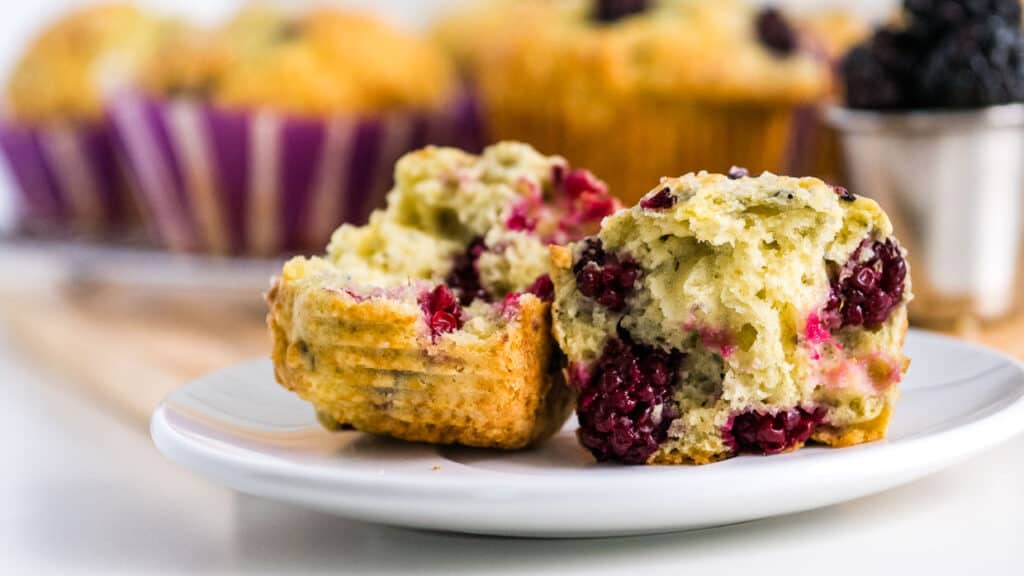
- Muffins: Some muffin recipes call for self-rising flour to ensure they rise uniformly.
- Scones: Much like biscuits, the leavening in self-rising flour gives scones their characteristic lift and crumb.
- Quick Bread: For breads that don’t use yeast, like banana bread or soda bread, self-rising flour can be an ideal choice.
- Fried Foods: Fried dishes, like fried chicken, might use self-rising flour in their batter for a lighter, crispier crust.
- Pizza Bases: Quick and easy
pizza dough recipes sometimes use self-rising flour for a faster rise without the need for yeast. - Dumplings: Self-rising flour makes light and airy dumplings in stews or casseroles.
- Cobblers: The topping on some fruit cobblers uses self-rising flour to achieve a puffy, golden crust.
However, always refer to specific recipes before using self-rising flour. Not all versions of the above dishes will call for self-rising flour; substituting it directly for all-purpose flour without adjustments can lead to undesired results.
Summing up
In conclusion, self-rising flour’s versatility and convenience can make baking adventures more effortless and successful. So, embrace this handy ingredient and enjoy the fluffy, delicious rewards it can bring to kitchen creations.
Anne Jolly is the creator of the food blog Upstate Ramblings. She loves to cook with gadgets like an air fryer, sous vide or pressure cooker. In her free time, she enjoys hiking, reading, knitting and spending time with her three kids.
