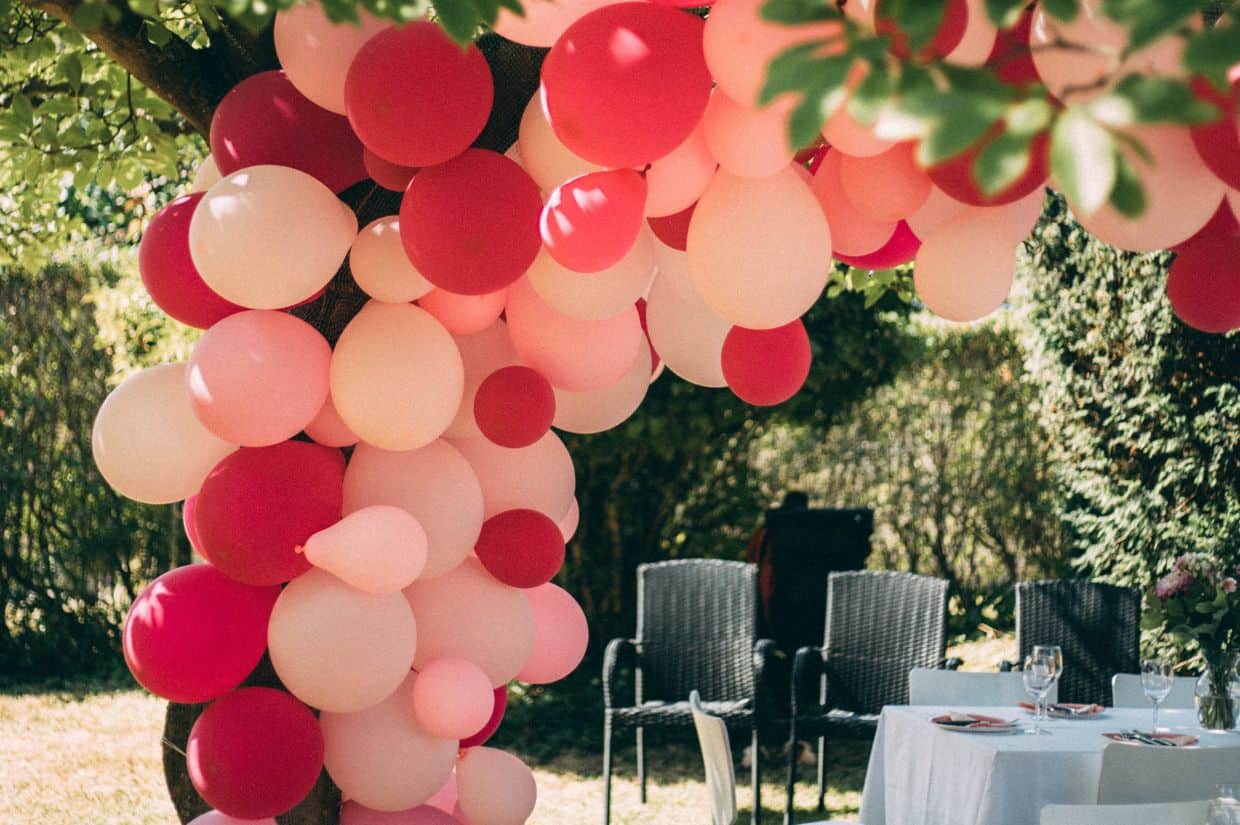
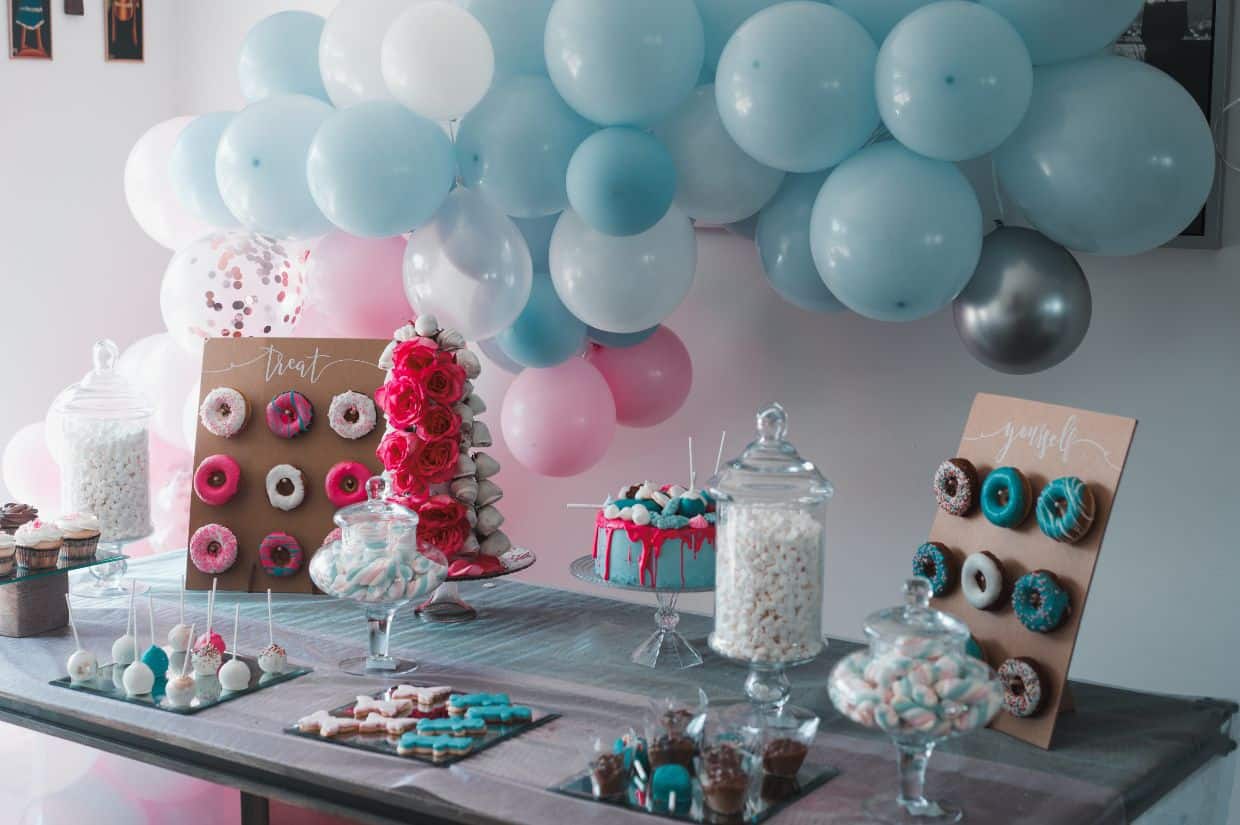
Want to add a memorable touch of whimsical decor to your next big event? Learn how to make a balloon arch. These delightful structures enhance the fun-filled atmosphere and are sure to impress your guests.

The versatility of balloon arches: Perfect for every occasion
Whether you’re planning a birthday bash, wedding extravaganza or pregnancy reveal party, balloon garlands are the perfect accent.
A balloon garland is a decorative arrangement of many balloons connected together, curve it into an arch and you get a balloon arch. They can be small and sit on a table showing off birthday party snacks, big enough to walk through or somewhere in between.
Suitable for a wide range of functions, you can customize them with different colors, patterns and themes to fit the event.
Sure, you could hire a party planner to come and set one up for you, but why not try a DIY arch instead?
Save on party costs by purchasing the balloons and materials and bring family and friends in to help set up. It’s a fun bonding experience and an opportunity to express your creativity.
“Theming a room can be expensive, and trendy photo backdrops can be costly, too. Balloon arches solve this problem by adding a cost-effective splash of color, creating the perfect photo opportunity for guests.” — Mandy Applegate, Splash of Taste
Plus, the sense of accomplishment found in stepping back to admire your work of building an arch from scratch is so fulfilling.

Logistics of balloon arch setup: Factors to consider
Plan the location, look, size and style details of your garland before getting to work blowing up the balloons.
Choose the location
Since balloon arches are so flexible, they fit well in many locations. Picking the desired space first helps you know approximately how large of a garland you need and how many balloons to purchase.
“We crafted a beautiful balloon arch for my daughter’s birthday and positioned it behind her high chair. It was perfect for capturing some unforgettable photos.” — Sara Nelson, Real Balanced
Popular locations include:
- At the entrance: an outside gate or inside doorway
- Above a gift or cake table: small or large, the arch can drape over any size
- As a photo booth backdrop: guests will love to opportunity to snap a memory with their host
- In front of a staircase or aisle
- Near the dance floor or activity area
- Around a fireplace
- By outdoor spaces

Set general shape, color and theme
There are different ways you can go about shaping your party decor.
- Traditional arch: Think of a rainbow. Adjust the tightness of the curve by pinching or extending it as needed. These fit best in front of doorways and over small buffet tables.
- Partial arch: Displaying one-half or three-quarters of an arch draws the eye differently and brings an intriguing expression to your main feature.
- Upside down L shape: Functioning as a corner frame, this angle beautifully accents the side of large open outside spaces and makes them feel more intimate and contained.
- Undulating: A gorgeous, gently curving drap. Best for long areas like over formal dining tables.
The final shape gets formed after assembling the balloons in a garland later on, but it is helpful to have a general idea of how you want the balloon garland to look now as you prepare.
Next, consider the colors of your party and plan to buy three to five different colors of balloons for your garland. Balloon arches look best with a mix of color and balloon sizes.
Also, think about how you want to present the colors. For example, will there be a pattern, scattered array or clusters of the same color?
Finally, do you have a party theme? Are there any extra add-ins you want to attach to your arch?
While balloons are beautiful on their own, adding a few flowers and sprigs of greenery goes a long way to topping it off with an Instagram-worthy touch. You can also add ribbons, gauzy fabric or LED lights.
Find the tools and materials
Visit your favorite online or local party store to pick up all the tools and materials you need to make a balloon arch:
- Electric balloon pump
- Balloons
- Balloon decorating strip
- Glue dots
- Command hooks
- Optional final touches like flowers, greenery or ribbon

Step-by-step guide for creating a stunning balloon arch
Follow the easy step-by-step process, and you can’t go wrong.
Step one: Prepare the balloons
Use an electric balloon pump to blow up the balloons. Stagger the size in an array of large, medium and small for the most interesting finish.
Tie the bottom of each balloon closed and set them aside, or store them in large garbage bags until you’re ready to assemble the arch.
Step two: Assemble a garland
Start with the largest balloons and push the knot through one hole of the balloon decorating strip.
Then, attach a second balloon to the stip from the opposite direction.
Continue alternating until you create a balloon strip long enough to fit your space.
It may look a little bare. But, don’t worry, that’s temporary.
Step three: Set the arch
Here’s where the final form takes shape. First, attach the hooks to your wall or outside structure and drape the balloon strip over them.
It’s helpful if you can clear a hole in the strip and poke the hook securely through it. Then the garland will say right in place.
Step four: Add finishing touches
Now it’s time to bring in the smallest balloons and fill the extra space. Use the glue dots to stick them into the open gaps. Continue until the arch has a density and fullness you like.
If you are adding extras like flowers or greenery, carefully slip the stems between balloons or apply tape discreetly from the back.
The organic nature of DIY balloon arches is one of their most beautiful features. Each step is unique and special, from the colors to the arrangement, balloon sizes to the final form.
Let your creativity shine, and enjoy the process as you prepare for a joyous celebration with all your favorite people. No matter the occasion, balloon arches are a fun and cheerful decoration that won’t break the budget.
Jessica Haggard is the creator of the blog Easy Homemade Life. She inspires and supports homemakers cooking homemade meals from scratch and provides DIY tips and tutorials for creating natural cleaning and personal care products to promote a happy and healthy home environment.